Welcome back to the school year all you wonderful punks and weirdos!
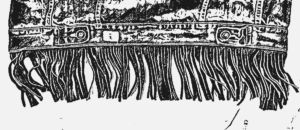
With October coming it’s time to bust out the jackets after summer, and what better way to battle the coming cold then with a battle jacket. Battle jackets were originally WWI bomber jackets with the sleeve cut off, with patches and badges sewn onto them to represent the history of the pilot. They were worn in opposition to the military command who wanted faceless and replaceable soldiers. The battle jacket returned during the Vietnam war, as people were forced to fight a war they didn’t want. The garment expressed their rage and loss through handmade patches, bullet casings, and medical equipment. These jackets were taken home, and quickly became an important image of the anti-war movement, where it mixed into the punk movement. To this day, they remain a symbol of fighting against oppression, of existing on the fringes, and of counter-culture. Now that you know the broad strokes of their history, let’s talk about making a battle jacket.
STEP ONE: Pick Your Battler
The most important part of a battle jacket is that it is made of sturdy, natural fibers. The traditional fabrics are denim, canvas, or leather — bought second hand. You should get it one size bigger than your size.
STEP TWO: Right to Wear Arms
In the most traditional sense, battle jackets are full jackets with the sleeves cut off — but it’s up to you. You might want a vest, a jacket with sleeves, or one that you cut the sleeves off of to attach new ones on. All you need for this step is a pair of scissors to cut away your sleeves should you need to, and a well selected jacket that will hold up to having the sleeves cut off no problem.
STEP THREE: Places, Everyone
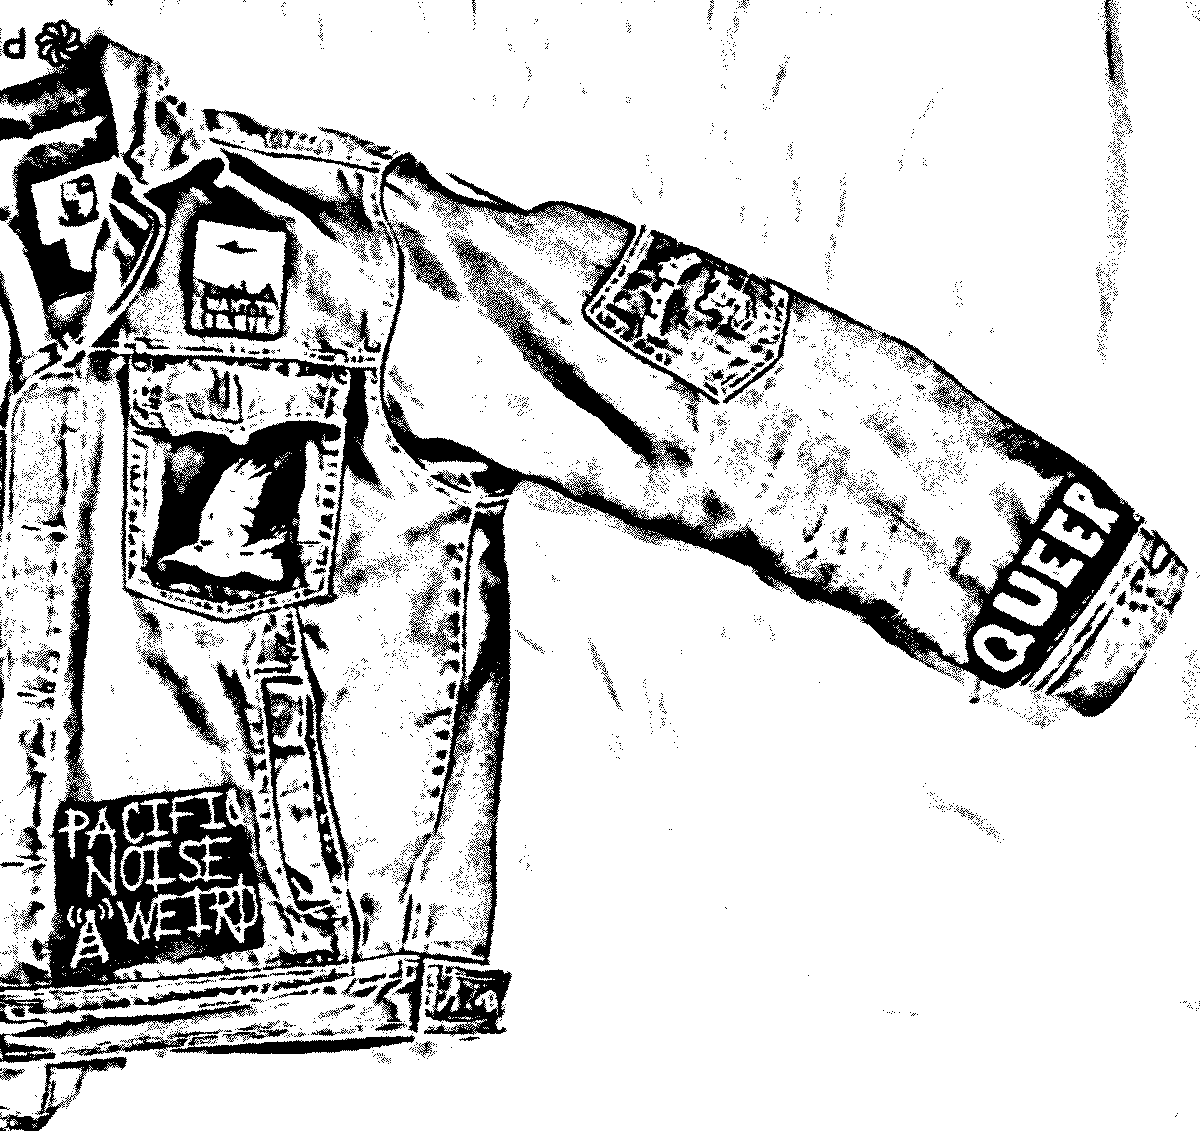
The placement of pieces on your jacket is crucial, each with a long tradition behind them. The patch on the upper left of your jacket is the one closest to your heart, but should be small. A badge or symbol for yourself fits best here. Your upper right is a great place to post your allegiances — such as your support for a band, an organization, or philosophy. Your cuffs, if you have left them on, can fit longer pieces that most people will see immediately,
STEP FOUR: Patchwork Adams
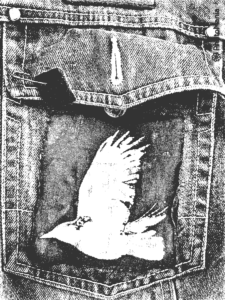
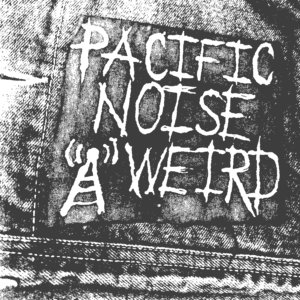
The simplest way to modify your jacket is to paint it. A cheap acrylic paint from the dollar store will work just fine. If you want a bit more flair, you can cut up fabric from other shirts/jackets/any source, and paint on those. Your patches are your chance to express yourself. A needle and thread, or fabric glue is all you need to attach them to the jacket.
STEP FIVE: Back to Back
Your back patch, which should cover the majority of the back of your jacket, is the centrepiece. It will be your biggest patch, so put effort, thought, and time into expressing yourself through it. A credo, manifesto, band, or favourite piece of art works best here.
STEP SIX: Adornment
With the use of safety pins, spikes, nails, shell casings, and other metal adornments your battle jacket can shine like armour. They can be sewn, glued, or tied down however you like. They may fall off, but repair is part of counter-culture.